Signature analytics in gSignature
Activate signature tracking
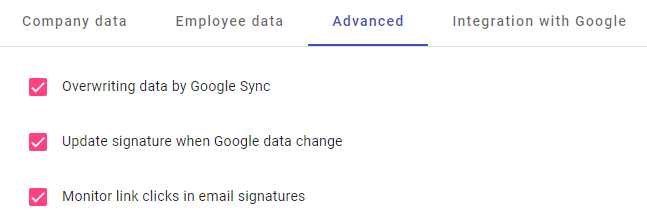
- Enable tracking: In Settings - Advanced, check “Monitor clicks on links in e-mail signatures.”
- Save changes: Confirm changes to activate tracking.
Access to Analytics
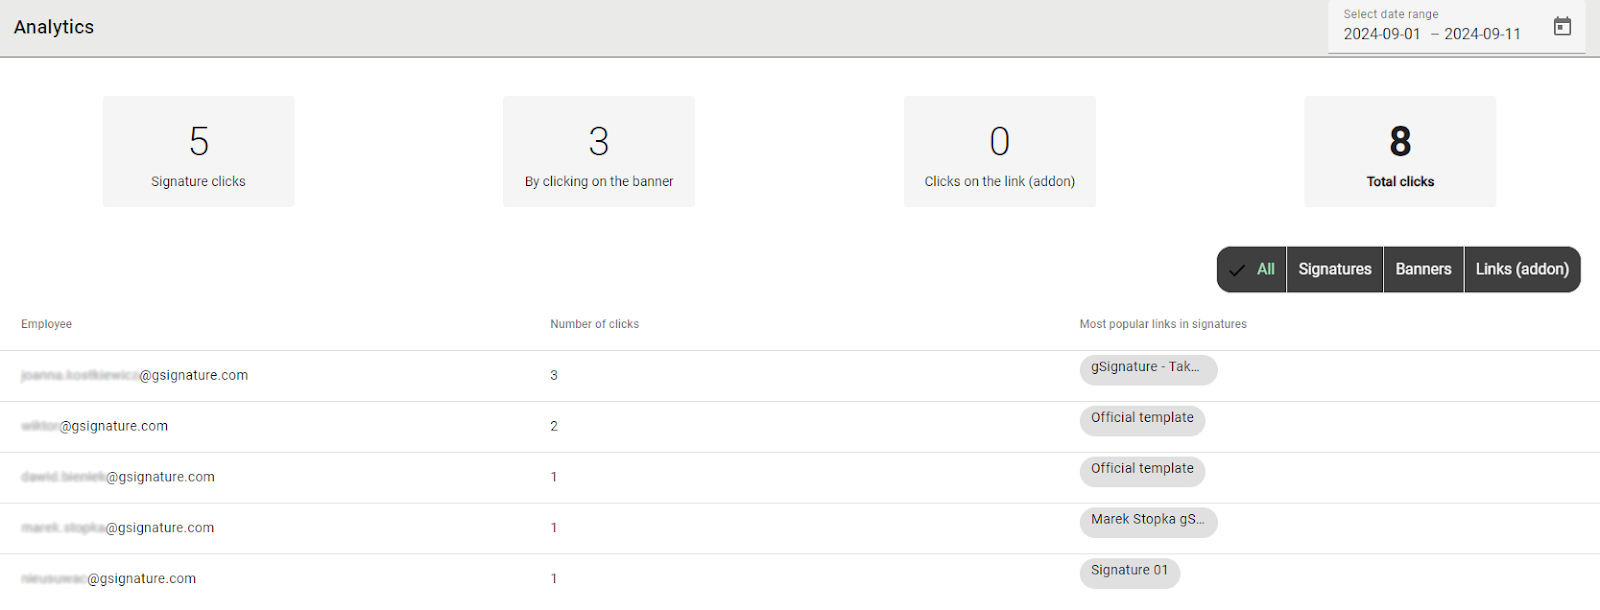
- Analytics panel: Go to the dedicated analytics panel in gSignature.
- Select Signature: Selectsignature elements to see detailed statistics.
- Analyze Data: View data on link clicks, popularity of signature elements assigned to individual employee addresses. .
What can you analyze?
- Link clicks: See which links in your signature are most frequently clicked (e.g., product pages, appointment calendar links, social media profiles).
- Element popularity: Evaluate which signature elements (e.g., logos, banners, headlines) attract the most attention from your audience.
- Performance of individual signatures across employees: Compare signature performance across different employees to identify the most effective solutions.
- Analytics reports also include extended parameters: number of message opens, CTR, and the ability to group results by templates, senders, and individual signature elements (which supports marketing decisions and A/B testing of add-on layouts).
How to interpret the data?
- Optimize links: If any link is particularly frequently clicked, consider placing it more prominently or placing it in the other templates
- Customize content: Based on click-through data, adjust your signature content to make it more effective.
- Test different variations: Experiment with different versions of the signature to find the optimal placement and content of the link.
Remember:
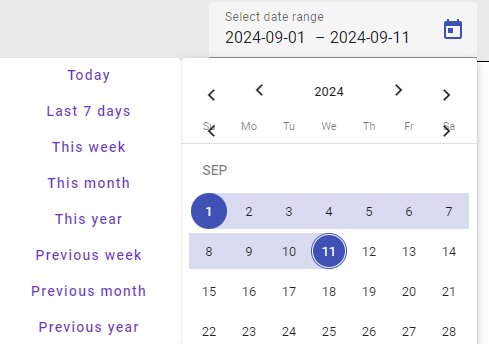
- Check your data regularly: Keep track of results to react quickly to changes.
- Use data to make decisions: Make informed decisions about your communications based on data analysis.
With Signature Analytics in gSignature, you'll gain valuable information about how your messages are received.Use this potential to increase the effectiveness of your marketing campaigns and build stronger relationships with your customers.
Didn't find a solution or answer to your question?
See here for more help or send us a message. Write which topic you are interested in or what issue you need help with.