Setting the E-mail Signature for an alias
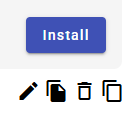
1. After the appropriate configuration, go to the gSignature application by selecting the Install e-mail signature button.
2. Install e-mail signatures for the main address and/or for the alias. You can separately install signatures for both main and alias addresses:
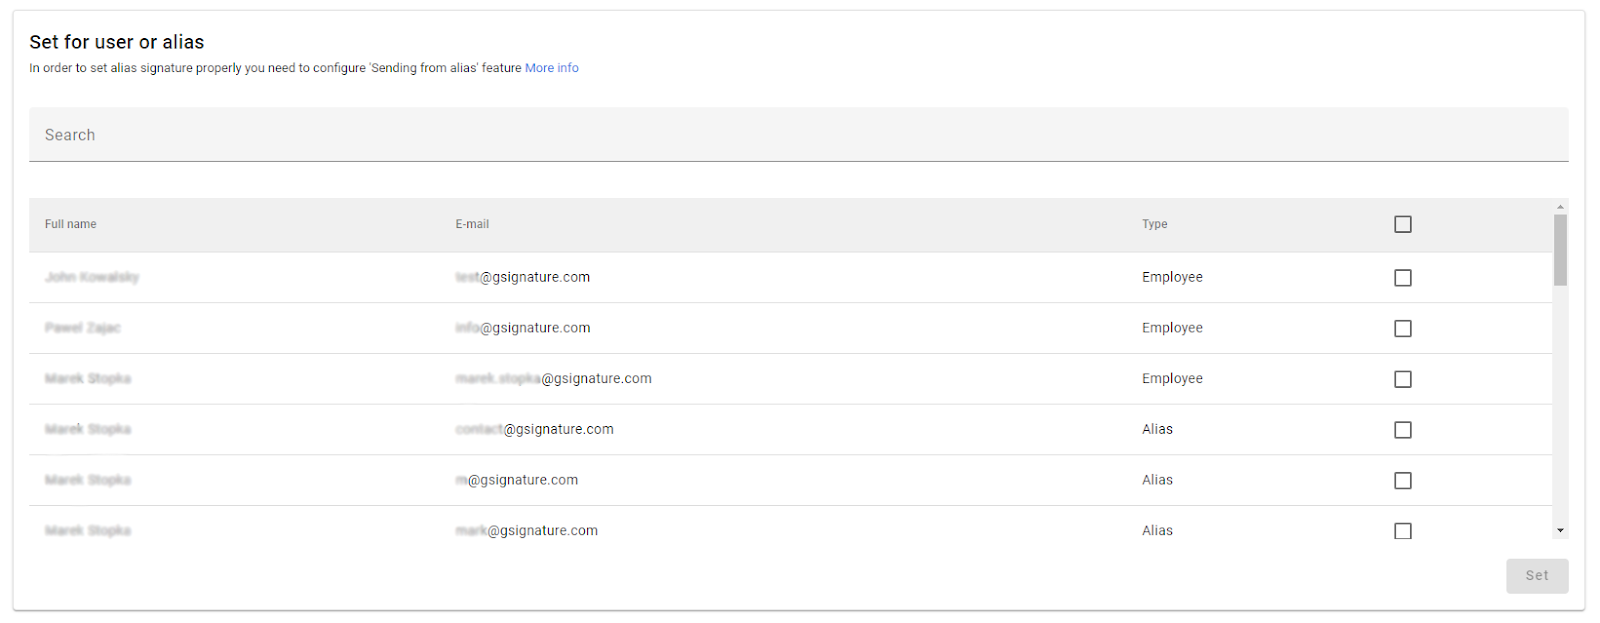
In the signature, email aliases are dynamically replaced with the employee's email address ${userEmail}) and the ${userName} name. This ensures that the signature looks consistent regardless of whether a message is sent from an alias or from the employee's main email address.
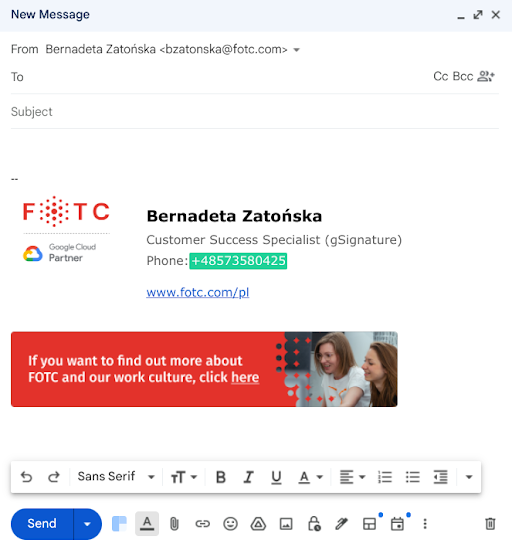
3. Refresh Gmail and click “Create” to write a new message.
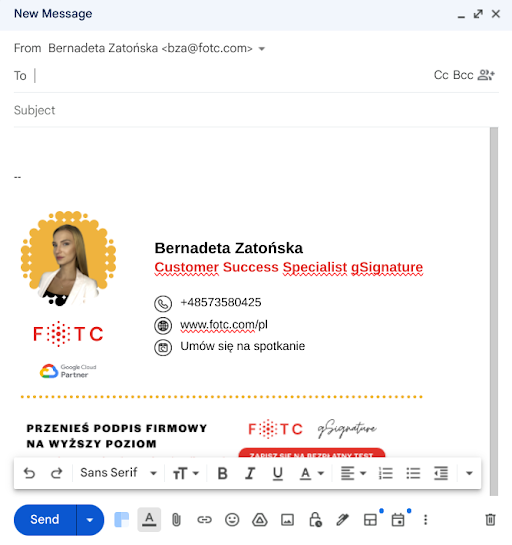
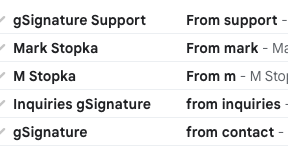
The e-mail signature changes depending on the email address used or alias
When saving templates or add-ons, signatures will now also be automatically reinstalled for email aliases. This way, you don't have to manually update the signatures for each alias individually.
When sending emails from an alias, not only will the email address be dynamically replaced with the alias address, but the sender name will also be automatically adjusted to match the alias name. This will make your messages look even more professional and consistent.
Intuitive sorting of signature templates – drag-and-drop feature
Managing a large number of signature templates can be challenging, especially in organizations where different departments, campaigns, or locations have their own unique patterns. To make administrators' work easier, we have introduced a drag-and-drop feature for templates.
What does this feature enable?
- Freely change the order of signature templates in the list in the administrator view.
- Set the most frequently used or strategic templates at the top.
- Organize templates according to your own logic: departmental, geographical, or thematic.
- Instantly update the view without having to save changes – just drag and drop.
With this functionality, managing large signature libraries becomes more transparent, and access to key templates becomes faster and more intuitive. Changes made by the administrator are visible immediately and do not require additional configuration.
The feature is available in the Signatures > Templates section and does not require installation or enabling of additional options – it works automatically in all accounts with the appropriate administrative privileges.
Didn't find a solution or answer to your question?
See here for more help or send us a message. Write which topic you are interested in or what issue you need help with.